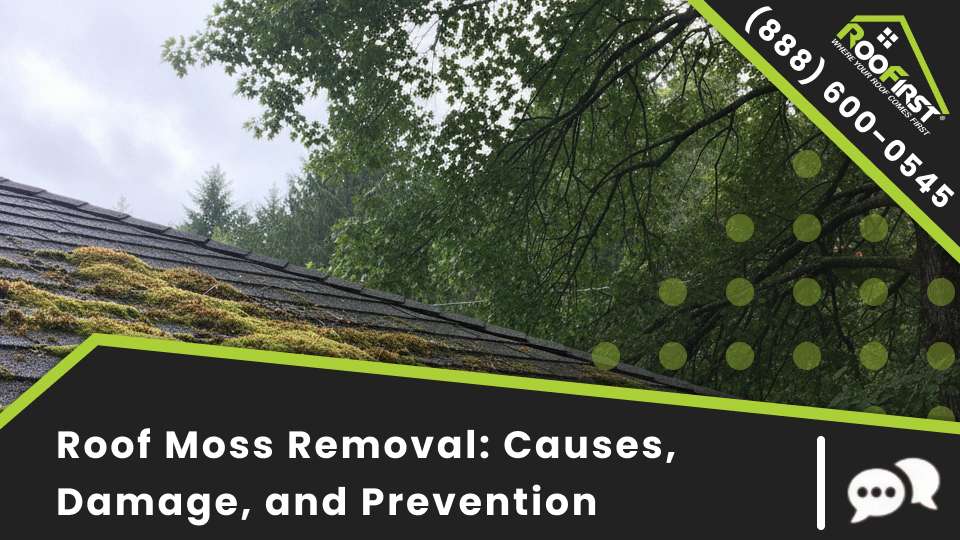
Roof moss removal protects your shingles, extends your roof’s lifespan, and restores your home’s curb appeal. Knowing how to remove moss from your roof safely prevents damage to the shingle surface and the underlying structure. Roof algae removal addresses the dark streaks and discoloration that make your roof look old and neglected. Furthermore, learning how to remove algae from your roof properly prevents the growth from returning within months. Roof moss damage is more serious than most homeowners realize because moss holds moisture against the shingle surface constantly. In addition, moss damage to shingles lifts the edges, breaks the granule coating, and creates pathways for water to penetrate your roof deck. Roof moss prevention eliminates the conditions that allow moss and algae to grow in the first place.
Likewise, taking steps to prevent moss on your roof saves you from repeated cleaning costs and shingle deterioration. If your roof has green patches or dark streaks, search for roof moss removal near you to get a professional assessment.
How Moss and Algae Grow on Your Roof
Moss and algae thrive on roofs that provide the right combination of moisture, shade, and organic material. Specifically, understanding how these organisms establish themselves helps you prevent and treat infestations effectively.
Here is how moss and algae colonize your roof:
- Algae spores travel through the air and land on your shingles
- Moisture from rain, dew, and humidity feeds the growth
- Shaded areas that dry slowly provide ideal growing conditions
- Overhanging tree branches drop debris and block sunlight
- North-facing roof slopes receive less direct sunlight and stay damp longer
- Organic debris like leaves and pollen provide nutrients for growth
- Moss starts in the gaps between shingles where moisture collects
Because moss and algae reproduce through airborne spores, every roof in a humid climate is at risk. Therefore, prevention and early treatment are the most effective strategies.
The Difference Between Roof Moss and Roof Algae
Many homeowners confuse moss and algae because both discolor the roof. However, they are different organisms that require different treatment approaches like roof moss removal.
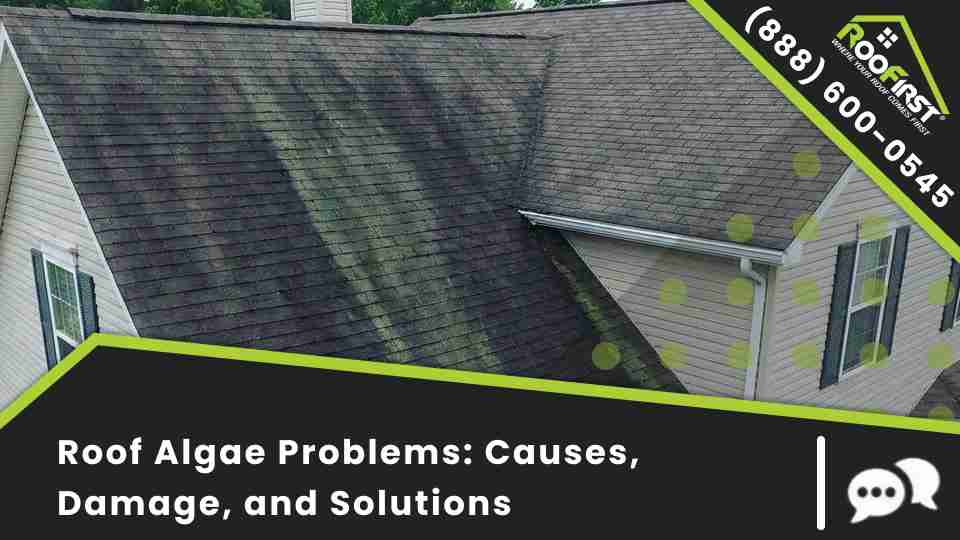
Roof algae (Gloeocapsa magma) Algae appears as dark black or blue-green streaks running down your shingles. Furthermore, it feeds on the limestone filler in asphalt shingles. In addition, algae is primarily a cosmetic problem that makes your roof look dirty and aged. However, algae does retain moisture on the shingle surface which accelerates granule loss over time.
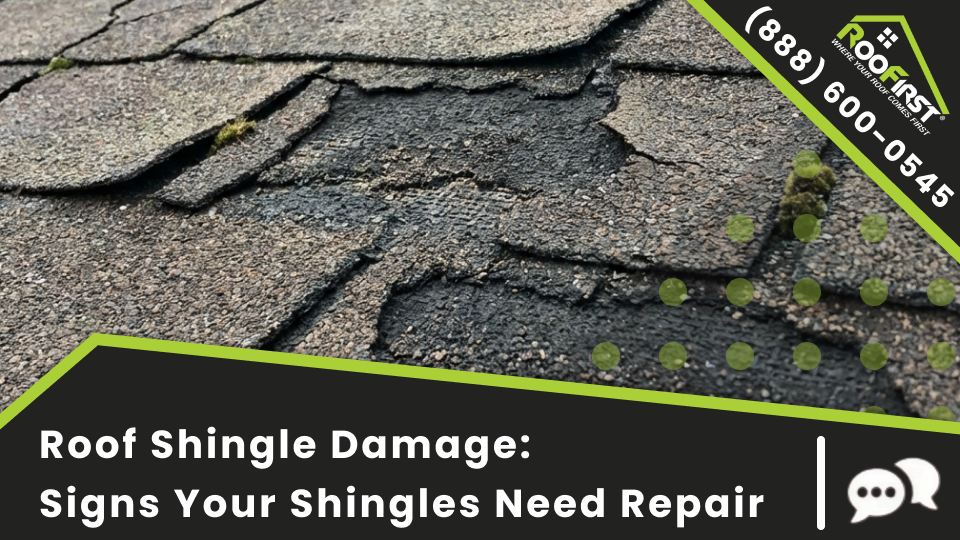
Roof moss Moss appears as thick green clumps or mats that grow between and on top of shingles. Specifically, moss has a root system that grips the shingle surface and works underneath the edges. Furthermore, moss holds significant amounts of water against the shingle surface like a sponge. Consequently, roof moss damage is far more destructive than algae damage because it physically lifts and deteriorates shingles.
Lichen Lichen appears as light green or gray circular patches bonded tightly to the shingle surface. Furthermore, lichen is extremely difficult to remove without damaging the shingles. In addition, lichen combines algae and fungus into a single organism that resists most cleaning methods.
Identifying which organism is on your roof determines the correct removal and prevention approach. Therefore, inspect your roof closely before choosing a treatment.
How Roof Moss Damage Affects Your Shingles
Roof moss damage progresses through stages that increasingly compromise your roof’s integrity. Furthermore, moss damage to shingles creates problems that go far beyond cosmetic concerns.
Stage 1: Surface growth Moss first appears as thin green patches in the gaps between shingles. Specifically, at this stage the damage is minimal and removal is simple. Furthermore, early treatment prevents the moss from establishing a strong root system.
Stage 2: Root penetration As moss matures, its root system works under shingle edges and into the granule surface. Consequently, the roots lift shingle edges and create gaps where water enters. In addition, roots break down the protective granule coating that shields shingles from UV damage.
Stage 3: Moisture retention Thick moss mats hold water against the shingle surface for days after rain stops. As a result, the constant moisture accelerates shingle deterioration and promotes wood rot in the deck below. Furthermore, in winter, water trapped by moss freezes and expands, cracking shingles from underneath.
Stage 4: Structural compromise Severe moss damage to shingles allows water to penetrate the roof deck consistently. Consequently, the plywood sheathing softens, delaminates, and eventually rots. Moreover, mold growth on the underside of the deck spreads into the attic space.
Because moss damage compounds over time, early roof moss removal prevents the most expensive repairs. Therefore, treating moss at stage 1 or 2 costs a fraction of the roof repairs needed at stages 3 and 4.
How to Remove Moss Safely
Several methods effectively remove moss from your roof. However, the wrong approach damages shingles and voids your roof warranty.
Gentle brush method Use a long-handled soft bristle brush to scrub moss off the shingles. Specifically, brush downward in the direction of the shingle overlap to avoid lifting edges. Furthermore, never use a wire brush or stiff bristle brush because they strip the protective granules.
Chemical treatment Apply a roof moss removal moss-killing solution of equal parts water and white vinegar, or a commercial moss remover product. Then, let the solution sit for 20 to 30 minutes before gently rinsing with a garden hose. Furthermore, chemical treatment kills the moss roots and prevents immediate regrowth.
Low-pressure rinse After chemical treatment, rinse the roof with a garden hose at normal pressure. However, never use a pressure washer on asphalt shingles. Specifically, pressure washing blasts away the granule coating and causes more damage than the moss itself. Consequently, low-pressure rinsing is the only safe method to remove dead moss from your roof.
Zinc or copper strip installation After removing moss, install zinc or copper strips along the ridge line of your roof. Furthermore, when rain washes over the metal strips, trace amounts of zinc or copper run down the roof and inhibit moss and algae growth. In addition, this provides ongoing roof moss prevention between cleanings.
If moss covers more than 25 percent of your roof or has reached stage 3 damage, professional roof moss removal is recommended. Therefore, attempting large-scale removal yourself risks falls and further shingle damage.
How to Remove Algae From Your Roof
Roof algae removal is simpler than moss removal because algae does not have a root system. Furthermore, learning how to remove algae from your roof properly prevents the streaks from returning quickly.
Cleaning solution Mix equal parts water and oxygen bleach (not chlorine bleach) in a garden sprayer. Specifically, chlorine bleach kills landscaping and corrodes metal flashing while oxygen bleach is plant-safe. Furthermore, commercial roof algae cleaning products are available at most home improvement stores.
Application Spray the solution onto the affected areas and let it sit for 15 to 20 minutes. Then, rinse gently with a garden hose from the ridge down. Consequently, the algae loosens and washes away with the rinse water. Moreover, avoid scrubbing algae stains because the friction removes more granules than the algae itself.
Prevention after cleaning Install algae-resistant shingles during your next roof replacement or add zinc strips at the ridge to prevent regrowth. Furthermore, trim tree branches that shade the roof to increase sunlight and airflow. In addition, keep gutters clean so water drains quickly instead of backing up onto the roof edge.
Prevention Strategies
Taking steps to prevent moss on your roof eliminates the need for repeated removal. Furthermore, roof moss prevention like roof algae removal costs far less than cleaning or repairing moss damage.
Here are effective ways to prevent moss on your roof:
- Trim overhanging tree branches to increase sunlight on the roof surface
- Also, keep gutters clean so water drains away quickly
- Furthermore, install zinc or copper strips along the ridge line
- Remove leaves and organic debris from the roof surface regularly
- Additionally, improve attic ventilation to reduce moisture on the roof deck
- Choose algae-resistant shingles when replacing your roof
- Finally, schedule professional roof cleaning every two to three years in humid climates
These prevention strategies address the three conditions moss needs to grow: moisture, shade, and organic material. Consequently, eliminating even one of these conditions significantly reduces moss growth.
When to Call a Professional
Some moss and algae problems require professional equipment and experience. Therefore, contact a technician for roof moss removal and roof algae removal near you if any of the following apply:
- Moss covers large sections of your roof or has grown thick and matted
- Algae streaks cover most of your visible roof surface
- You are uncomfortable working on a ladder or walking on your roof
- Previous DIY cleaning did not prevent regrowth
- Shingles appear lifted, cracked, or damaged under the moss
- You want a professional treatment plan that includes prevention
A roof moss removal expert near you safely cleans the entire roof without damaging shingles providing roof algae removal and roof moss prevention. Specifically, they use professional-grade cleaning solutions, soft wash equipment, and proper safety equipment. In addition, they inspect the shingles for damage, recommend repairs, and install prevention measures to keep moss from returning.
Do not let moss and algae silently destroy your shingles and shorten your roof’s lifespan. Instead, call today to schedule your professional roof cleaning and protect your home from moisture damage.
Phone: (888) 600-0545
Email: info@roofirst.com
Website: https://roofirst.com/